After you are done picking out your parts, it is time to start putting them together. Although many people think “building a PC sounds hard,” it is actually very simple and only requires a Phillips head screwdriver. Being aware of the right steps and safety measures is very important, especially since we are working with costly parts.
This guide ensures that you can safely build by taking you through every step, from unboxing the parts to running the first program. You can feel confident putting together your PC because we will also talk about common problems and how to fix them.
PC Assembly Step-by-Step Guide
Let us begin the building process now that everything is ready. We will follow detailed video tutorials and start by setting up our workspace. Then we will unbox parts in a logical order.
Pre-Assembly Preparation
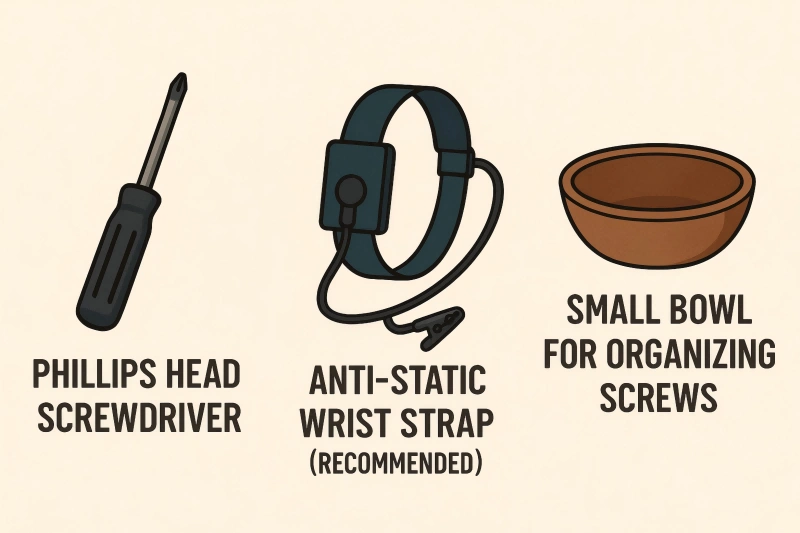
Required Tools: Phillips head screwdriver, anti-static wrist strap (recommended), small bowl for organizing screws
Work Environment: Use a spacious desk with adequate lighting. Avoid carpeted areas as they generate static electricity. Touch a metal surface before starting to discharge any static buildup.
Parts Check: Cross-reference your purchase list to ensure nothing’s missing, and don’t forget to pull out all included accessories.
Step 1: Motherboard Preparation
CPU Installation: Take the motherboard out of its anti-static bag and look for the CPU socket. Lift the socket lever before putting in an Intel chip. When installing an AMD processor, be extra careful not to bend the pins. The corner markings tell you which way to put it. Check the motherboard manual if you are not sure.
Memory Installation: For dual-channel kits, put the memory in slots 1 and 3 (or 2 and 4). If you put them next to each other, like 1 and 2, you will lose the ability to use two channels at the same time. Hold down hard until you hear that satisfying “click.”
CPU Cooler: Put on the right amount of thermal paste and put the CPU cooler in place. Tighten the screws diagonally in small steps to spread the pressure out evenly. Next, connect the power cable for the fan to the CPU_FAN header.
Step 2: Case Installation
Power Supply: If your case has bottom mesh ventilation, mount the power supply so that the fan faces down. Fix with the screws that come with it.
Motherboard: First put the I/O shield in place, then put the motherboard inside the case. Place standoffs in line with the screw holes and secure with the screws that come with the kit.
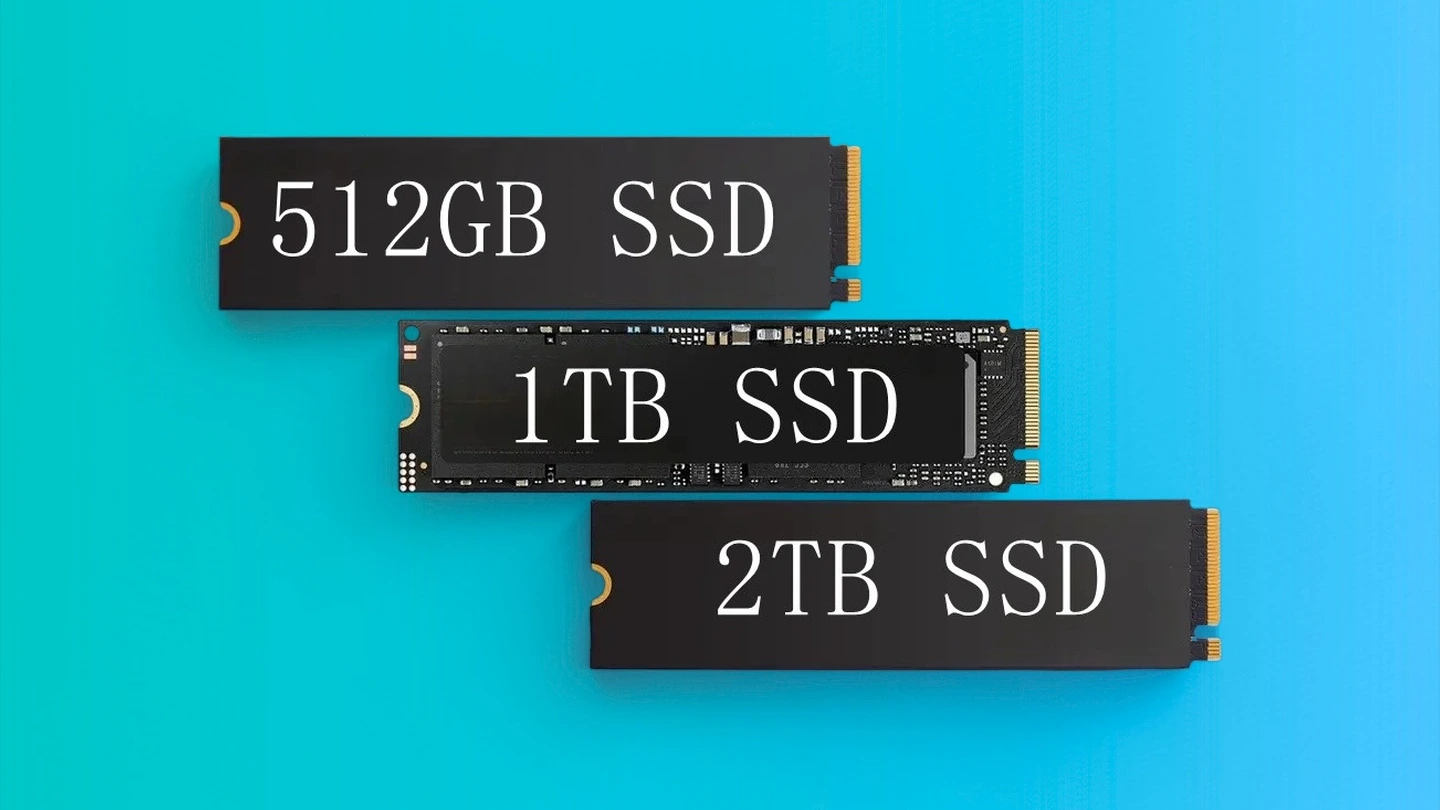
Storage: Mount SSDs in 2.5-inch bays and HDDs in 3.5-inch bays. M.2 SSDs go directly into the dedicated motherboard slots and get secured with tiny screws.
Step 3: Wiring
Power Connections: Hook up the main power cable with 24 pins and the CPU power cable with 8 pins (4+4 pins) to the motherboard.
Graphics Card: Put it in the PCIe x16 slot and use screws to hold the bracket in place. For high-performance models, you also need to connect two extra power cables (6+2 pins).
Storage Connections: To connect storage drives to the motherboard, use SATA cables. To power the drives, use SATA power cables. You do not need a power cable for an M.2 SSD. To keep things simple during OS installation, you might want to connect only your main boot drive at first if you have multiple drives. You can add the other drives after completing setup.
Front Panel: Connect the power button, LEDs, USB ports, and other connectors on the front panel to the headers on the motherboard. Find out the exact layout in the manual that came with your motherboard.
First Boot
Make sure that all of the power cables are properly seated and connected, and then use zip ties to bundle any extra cables so that air can flow better. Hook up your keyboard, mouse, and monitor. Make sure the monitor cable connects to the graphics card output instead of the motherboard if you have one.
Press the power button on the front of the system to turn it on. The fans should spin and the LEDs should light up. Once the computer has successfully started up, check the BIOS/UEFI screen to make sure the CPU temperature, memory, and storage have all been recognized. Only then should you install the operating system.
Do not worry if it does not begin right away. Most problems are caused by simple mistakes that are easy to fix, like forgetting to connect the power or the memory seat.
Common Mistakes and Solutions During Assembly
About 99% of build issues come from simple oversights, not lack of skill on your part. Take a deep breath and check these items one by one:
1. No Power
Make sure the power supply’s rear ON/OFF switch is set to “I,” that the power cable and outlet connections are correct, and that the 24-pin and 8-pin (CPU power) connectors on the motherboard are fully inserted. Follow the instructions in your motherboard manual to reconnect the power button wiring on the front panel. If it still will not start, try it again.
2. Power On But No Display
This is the problem that beginners are most worried about, but it is also one of the easiest to fix. It is important that the monitor cable connects to the graphics card output and not the motherboard. Also, try reseating the memory until it clicks firmly, and make sure that the power cable connections and PCIe slot seating are correct.
3. Components Not Recognized
For SSDs and HDDs, make sure that the power and data SATA cables are both installed. For M.2 SSDs, make sure the motherboard screw is properly in place. If the memory does not show the right amount of space, make sure that dual-channel kits are in slots that are the same color (1 and 3, or 2 and 4).
4. Strange Noises or Smells
Turn off right away. Burning smells or sounds like grinding, buzzing, or metal could be signs of bad wiring or fan interference. Make sure that no cables are touching the fans, that the power cables are connected correctly, and that the components are positioned correctly.
5. Efficient Troubleshooting Process
When problems happen, try starting up with only a single memory stick and no graphics card. Then, reconnect all the power cables and reinstall the memory and graphics card in that order for the best diagnosis.
6. When to Seek Professional Help
If the same problems keep happening, parts smell like smoke or fire, the motherboard keeps showing red LEDs, or the above solutions do not work, do not try to fix it yourself. Instead, talk to a specialist shop or support service.
The goal is building a “safely functioning PC.”
Minor hiccups are just part of the learning process. Work through them one by one, and you’ll definitely end up with your dream machine.
Wrapping Up
Well done on assembling your PC! What initially appeared as complex wiring work proves quite manageable when approached methodically. Issues typically arise from simple oversights that careful, calm checking can resolve. The satisfaction of watching your completed PC boot successfully is unique to custom building. The knowledge gained here will serve you well for future upgrades and maintenance.
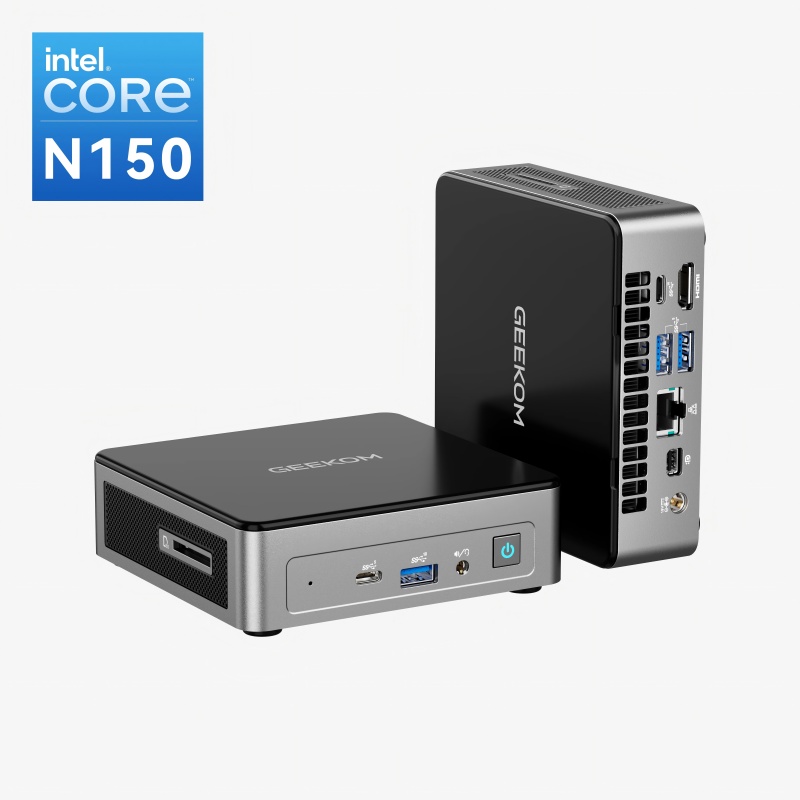
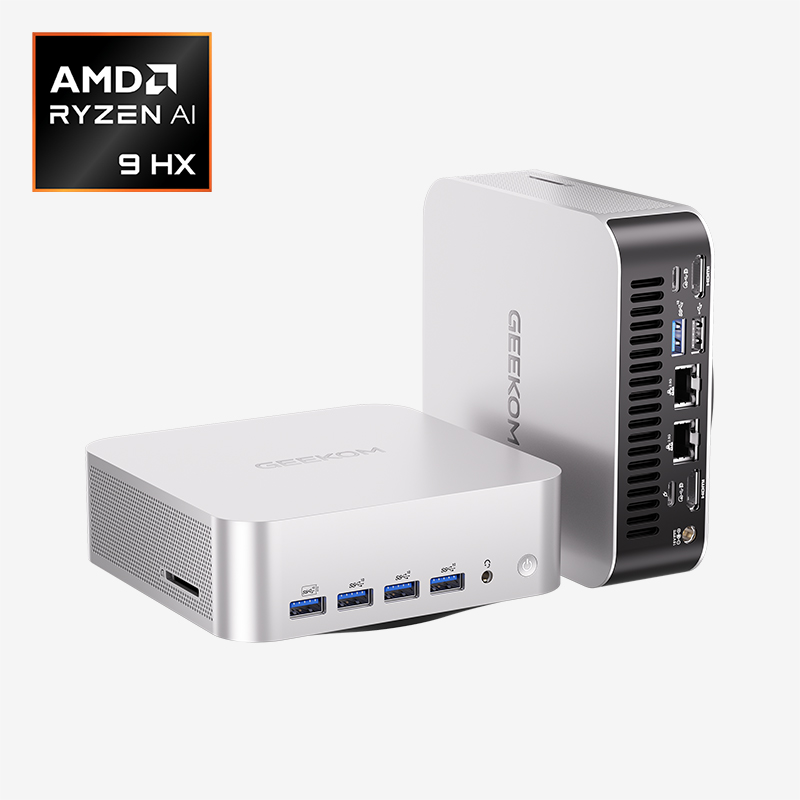
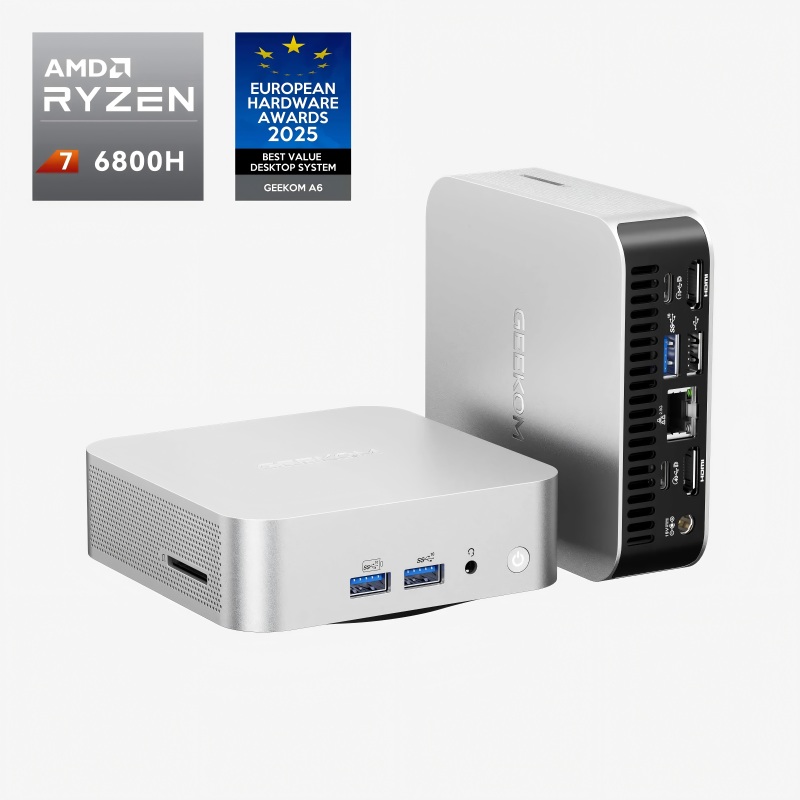
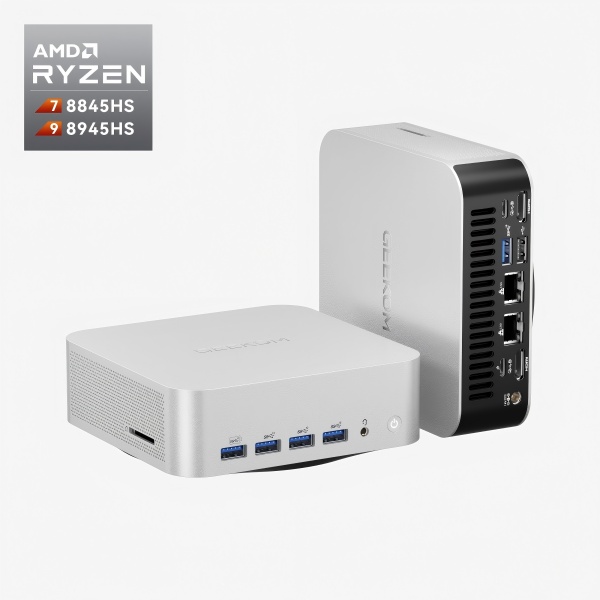
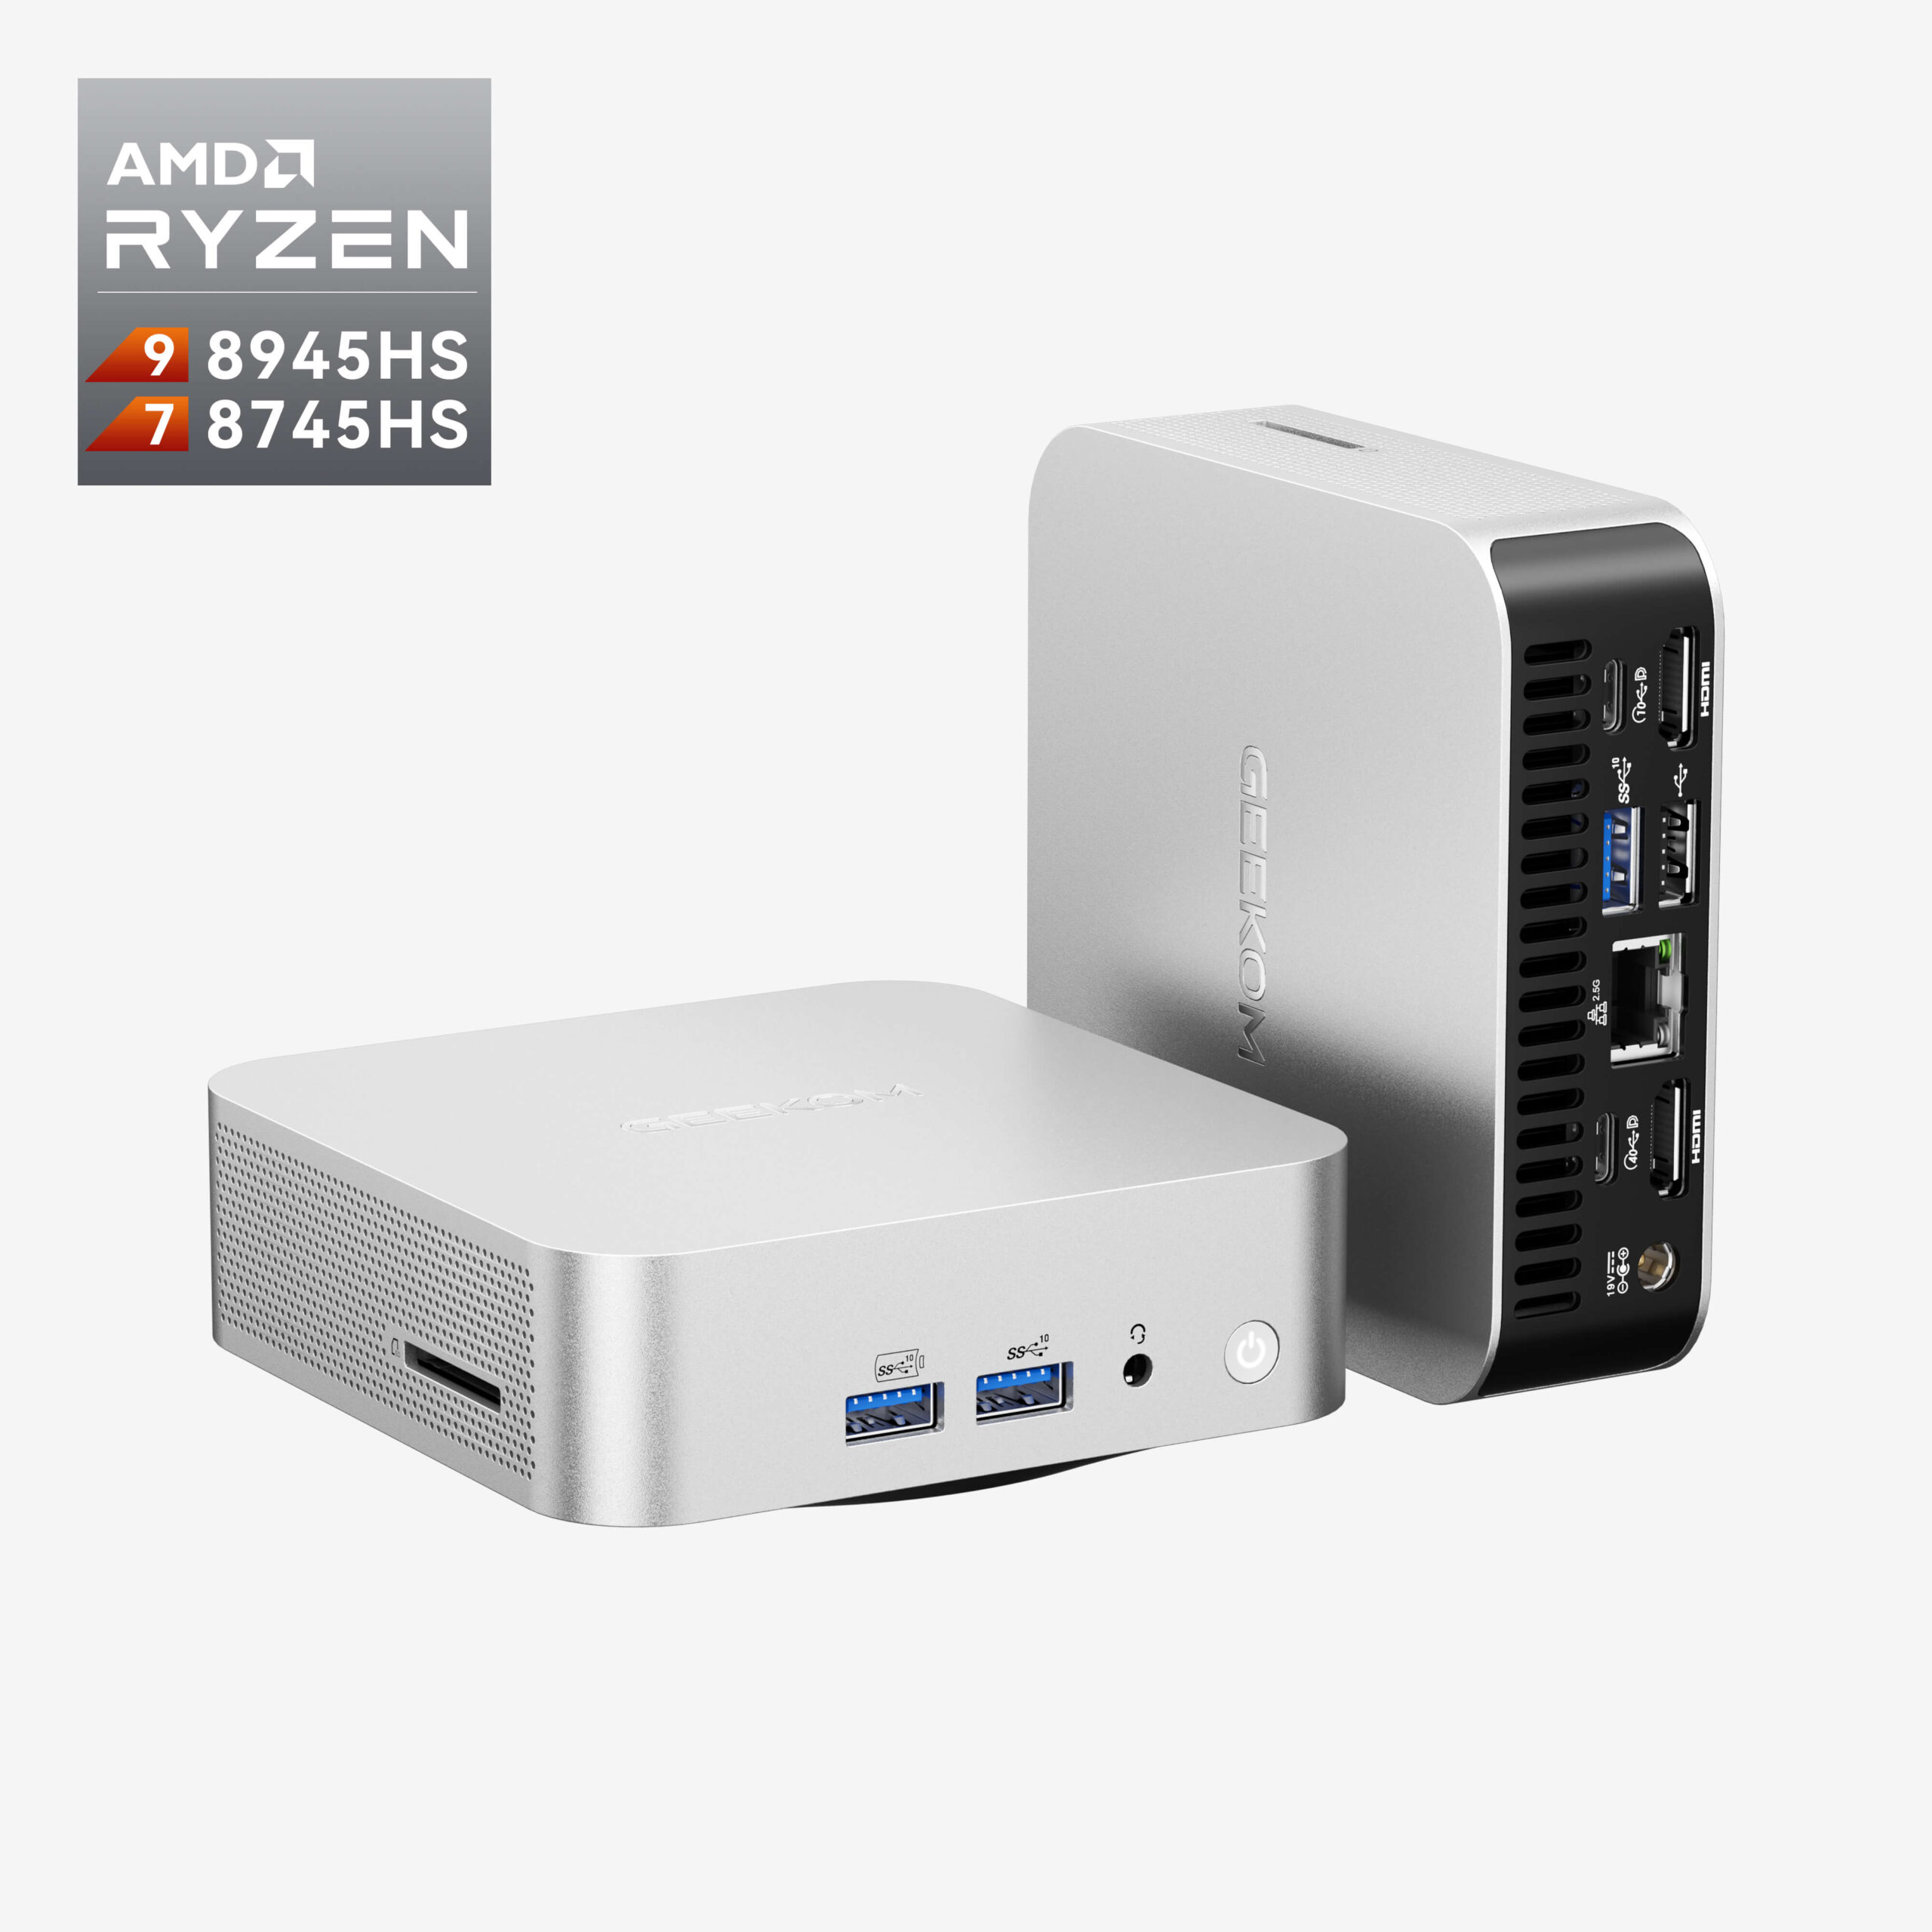
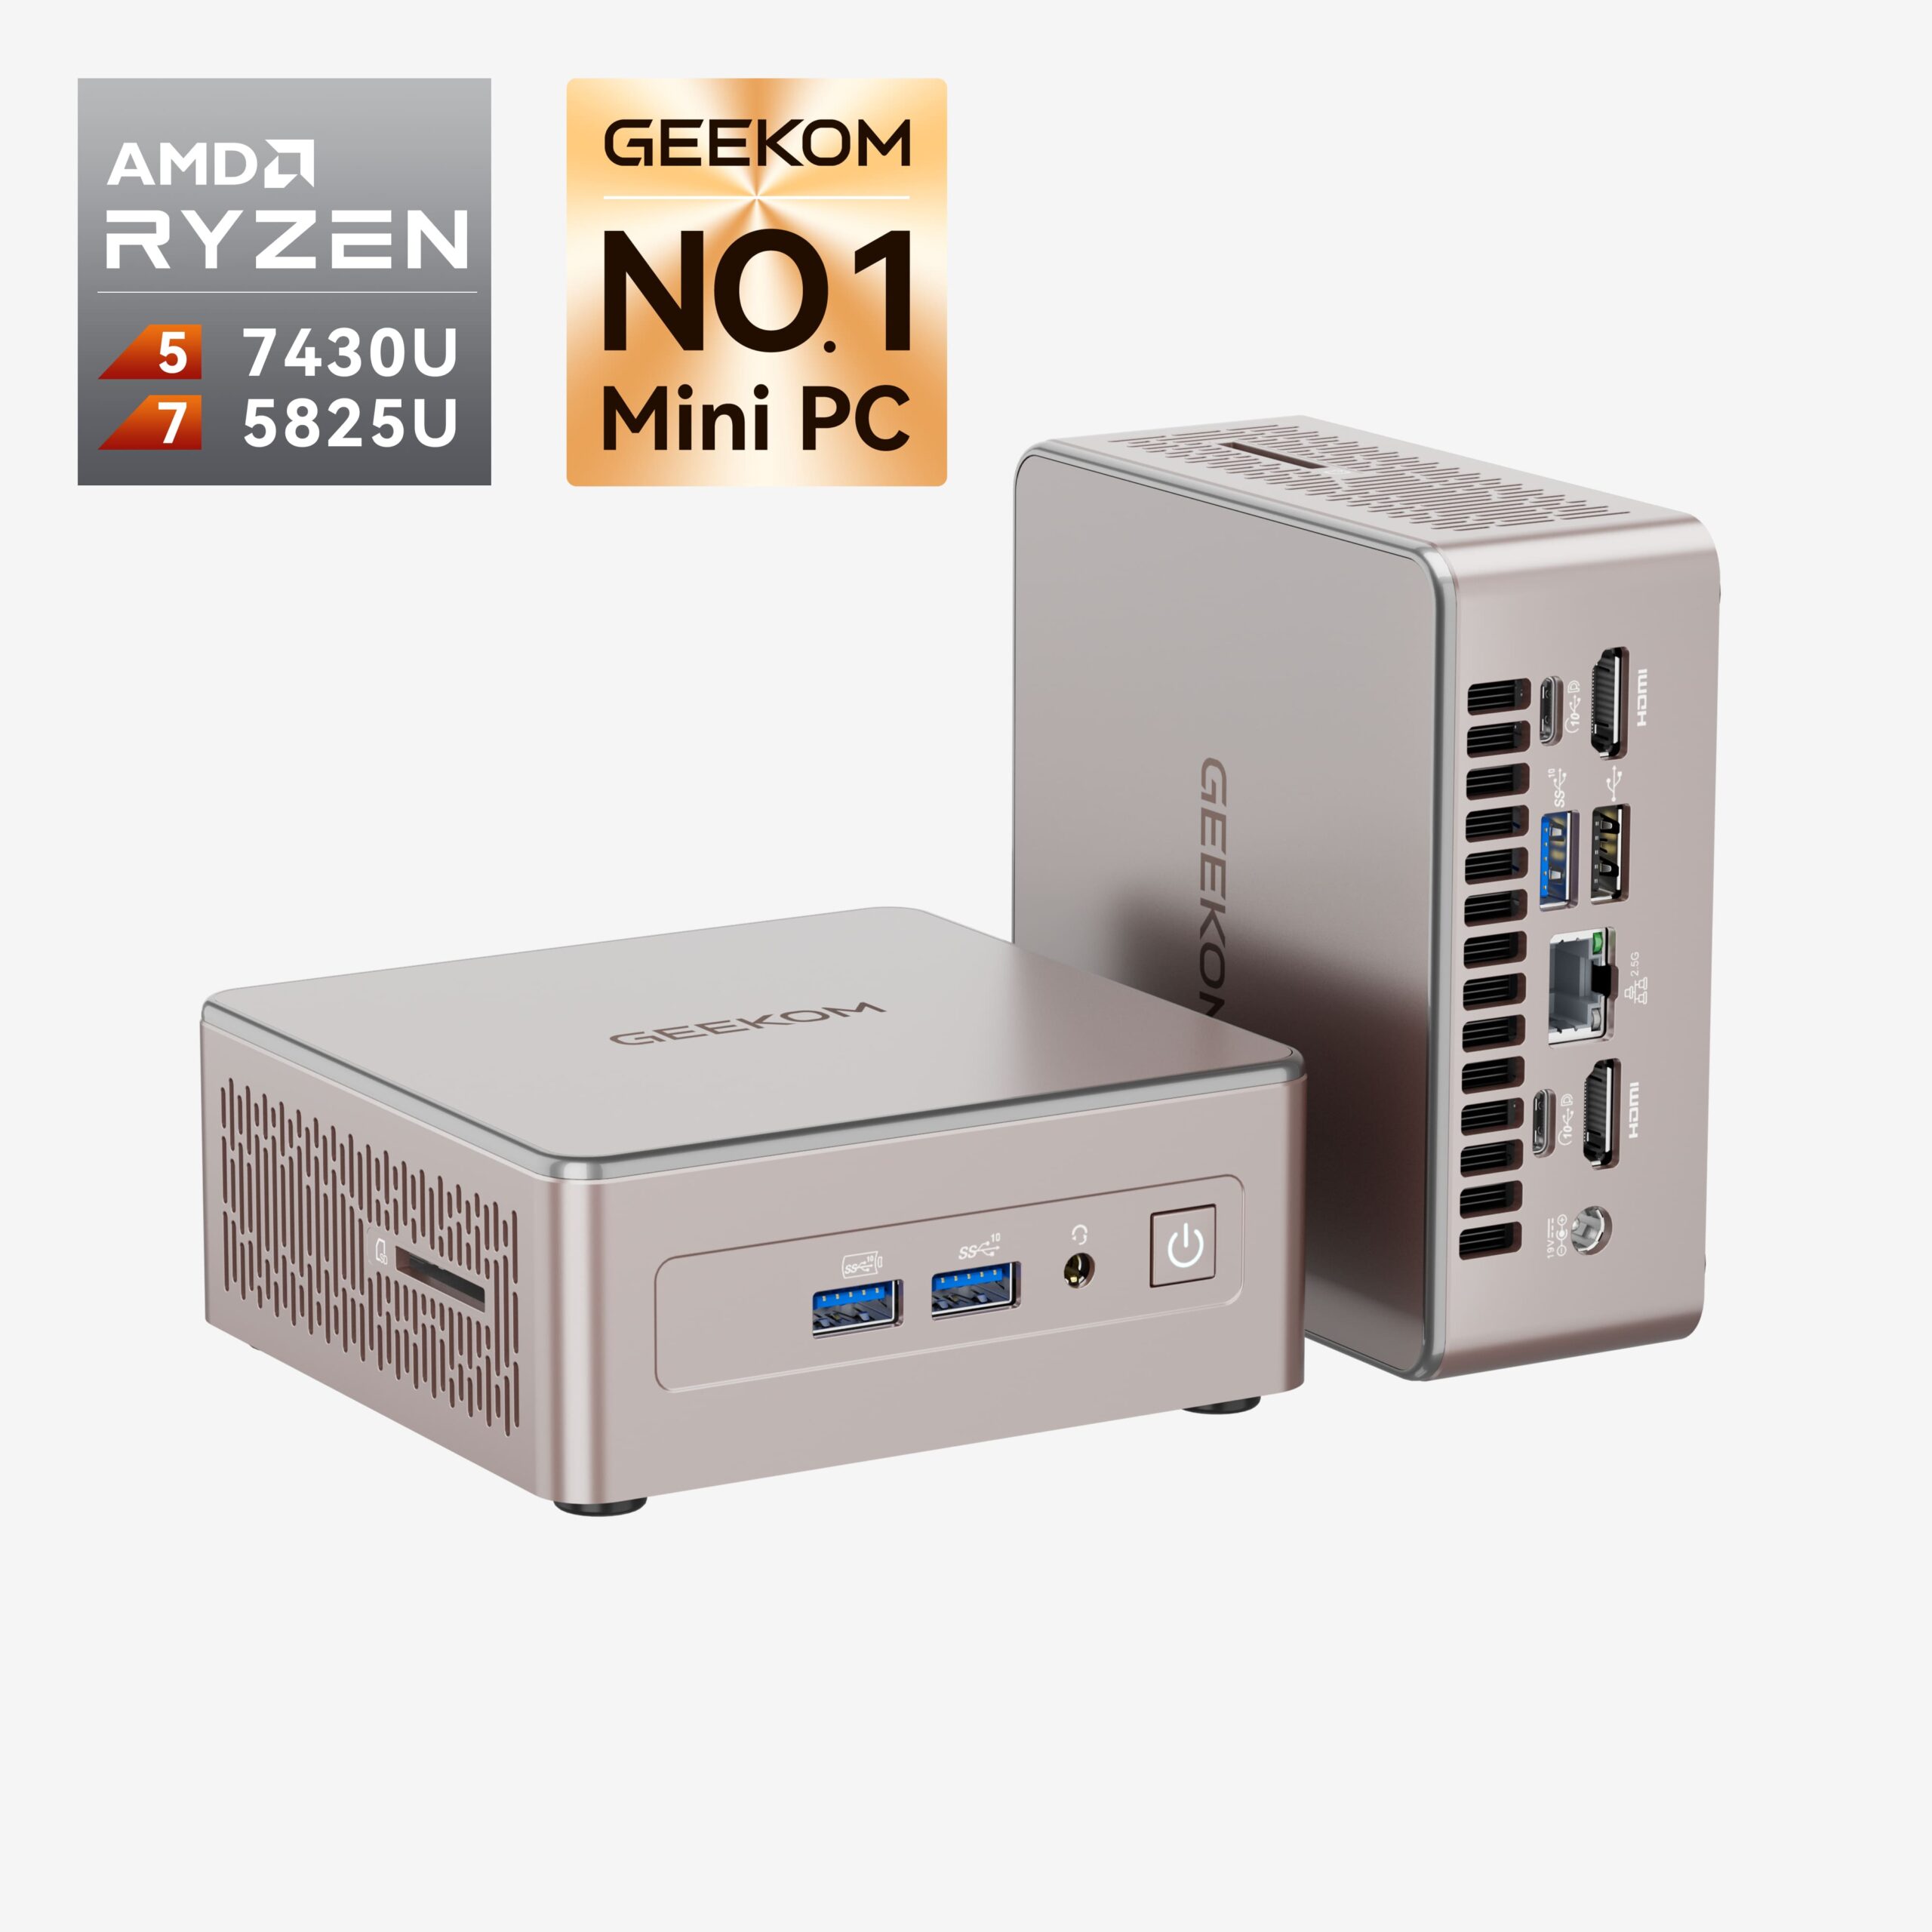
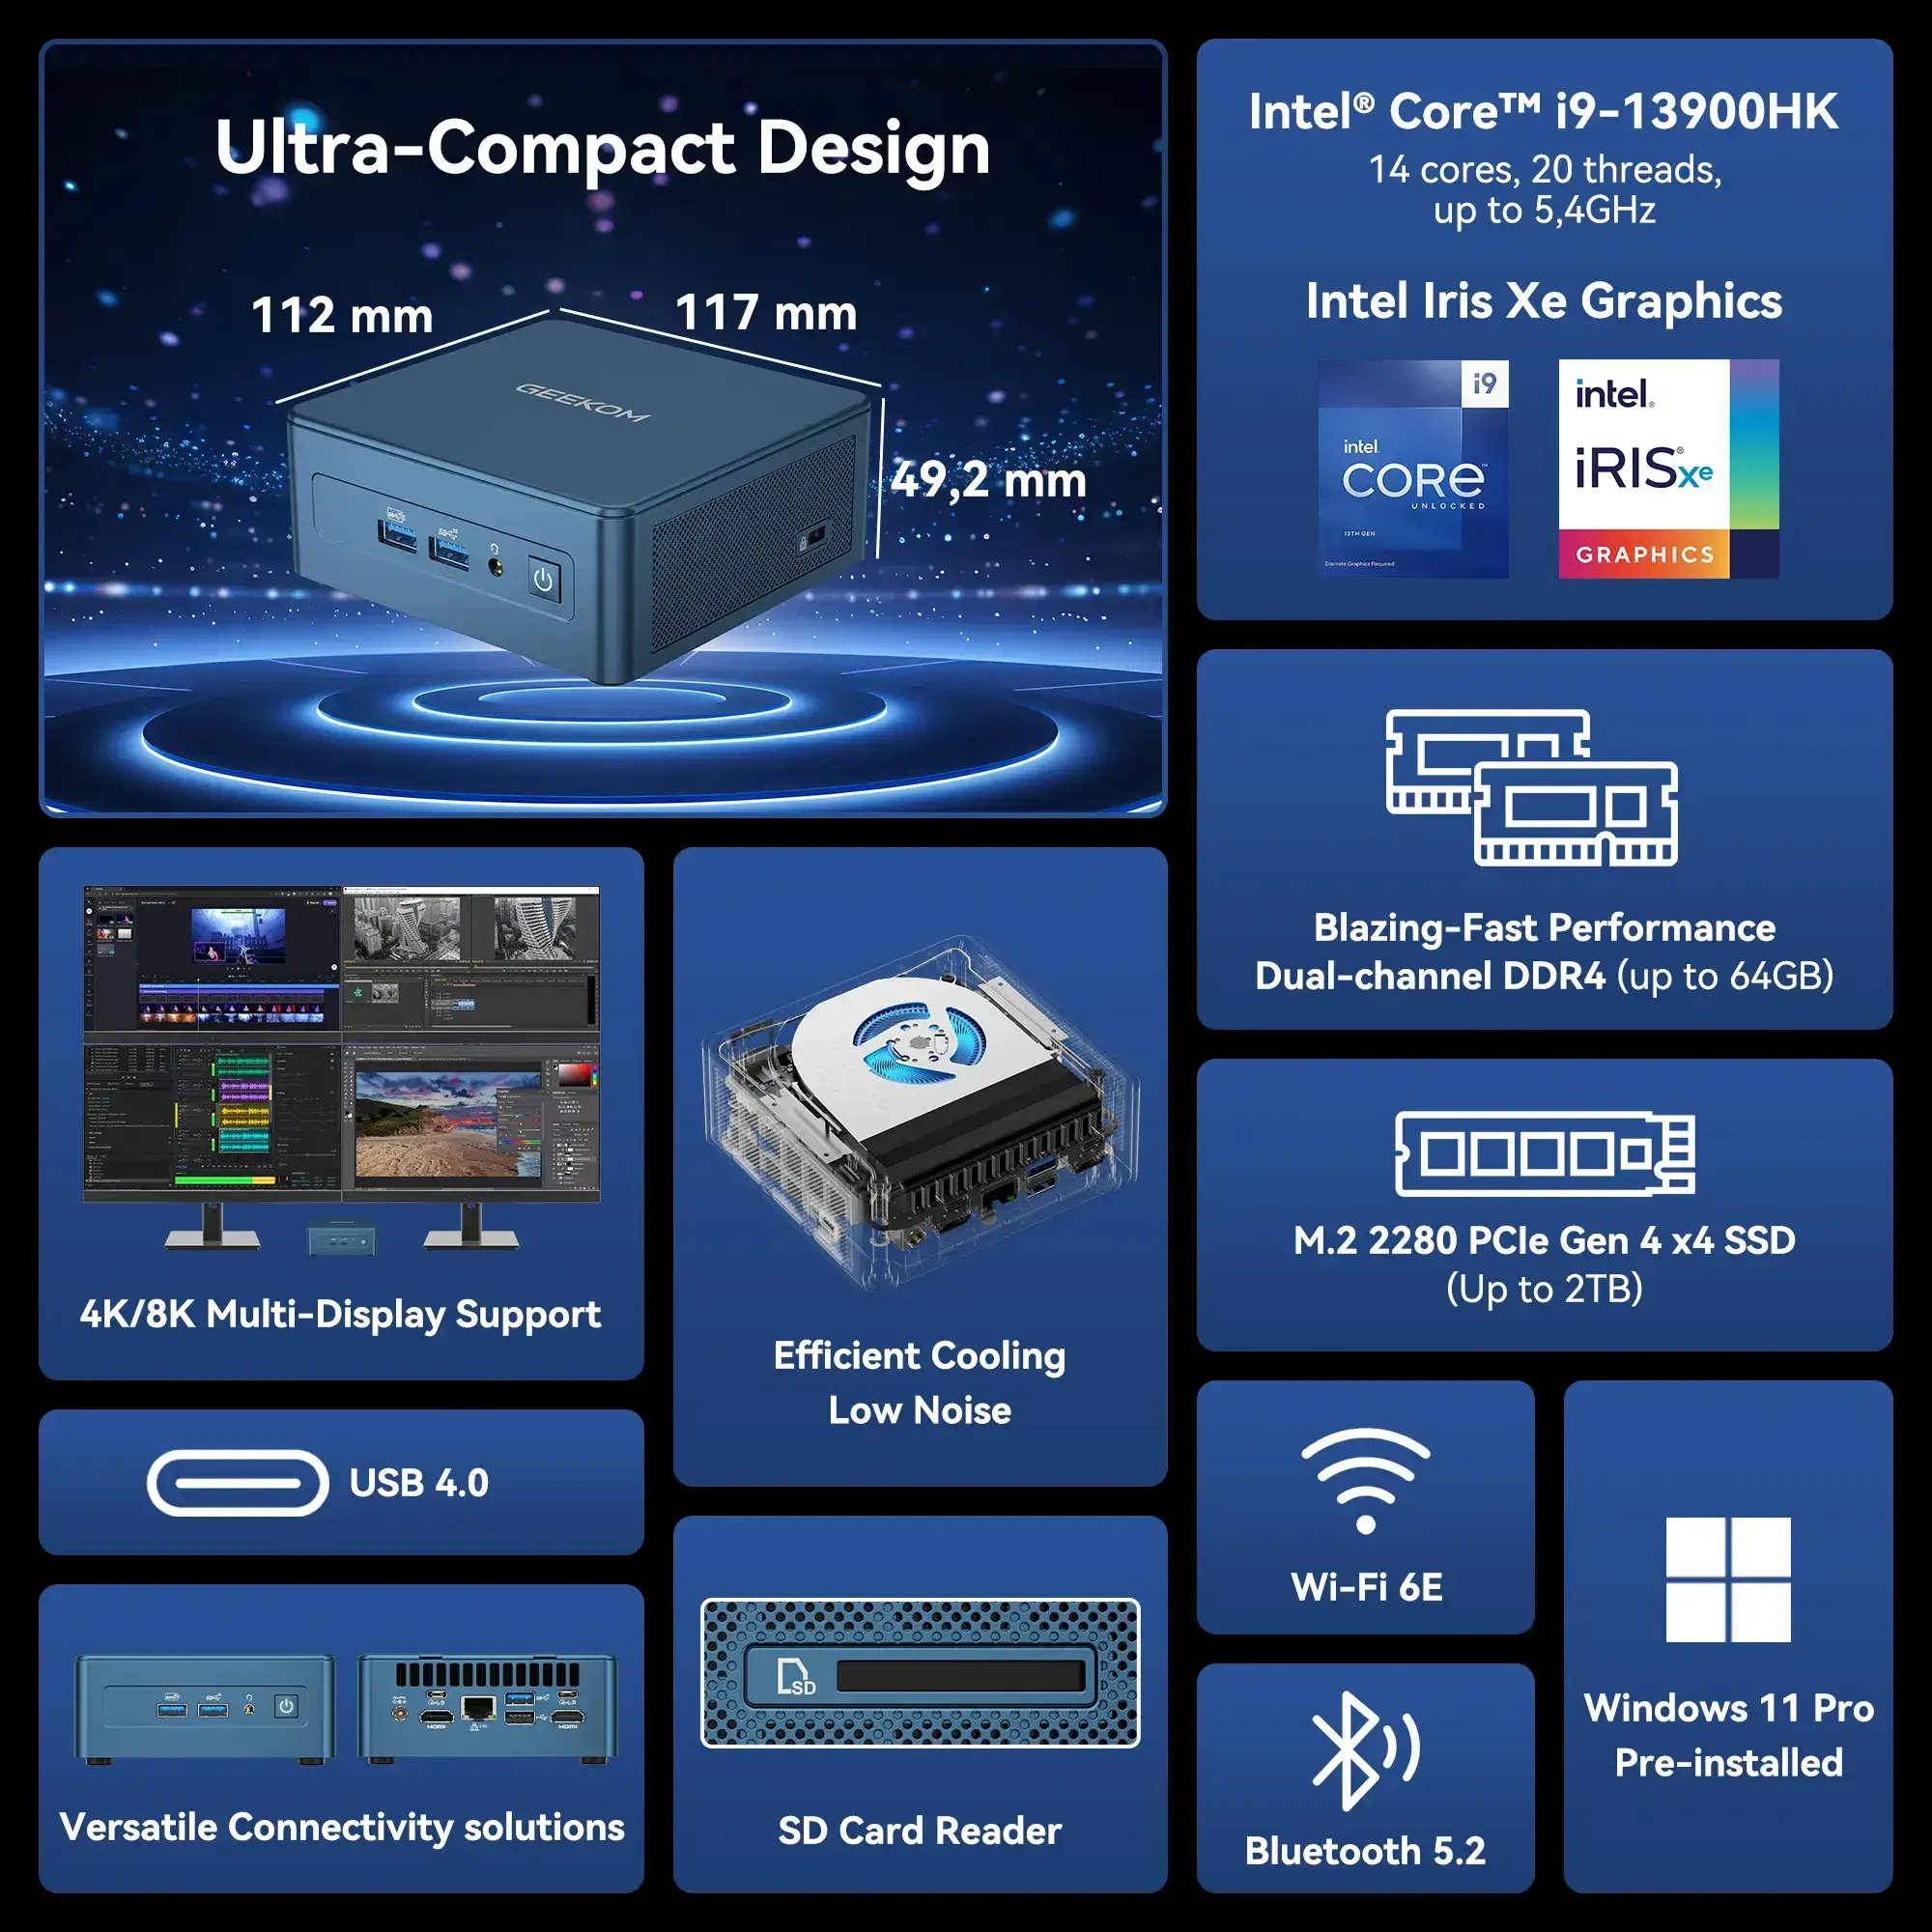
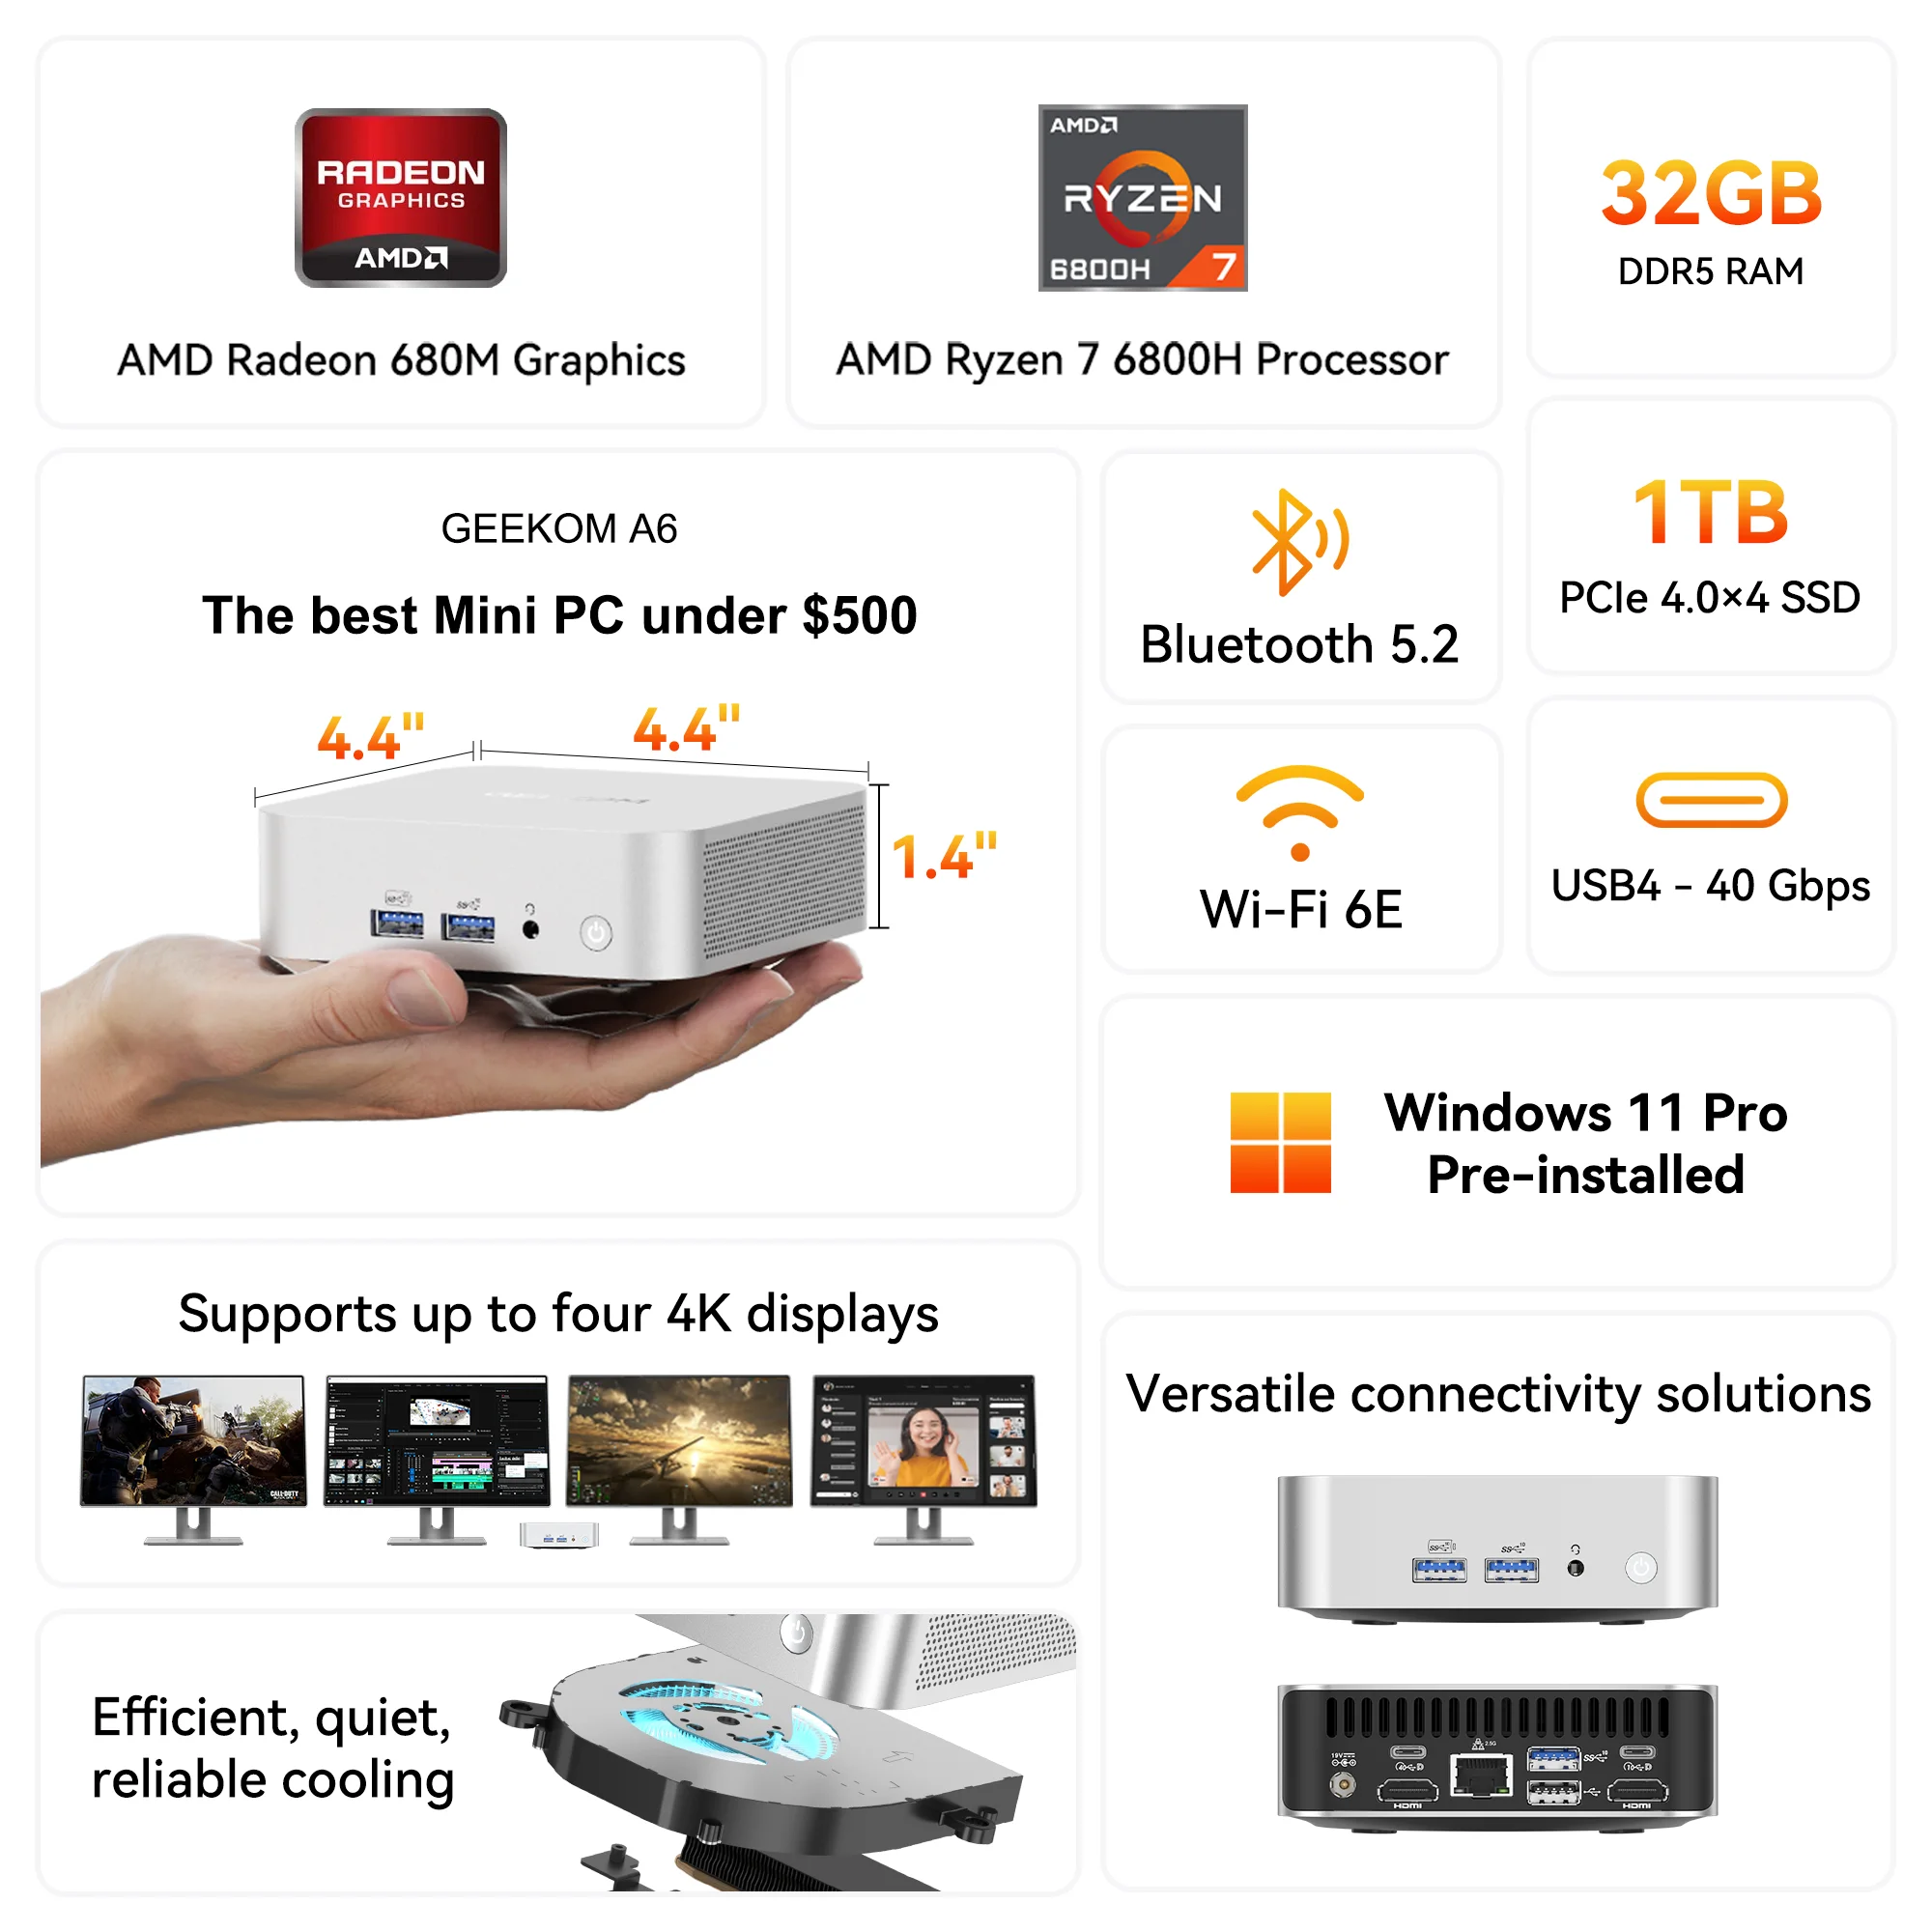
If you find the process of assembling a computer too troublesome or daunting, pre-assembled mini computers offer an excellent alternative. These compact machines provide numerous advantages: they’re ready to use straight out of the box, eliminating assembly concerns entirely. Mini computers are incredibly space-efficient, making them perfect for cramped desks or minimalist setups. They typically consume far less power than traditional desktop PCs, resulting in lower electricity bills and quieter operation due to their efficient cooling systems.
Despite their small size, modern mini computers can deliver impressive performance suitable for everyday computing, office work, media consumption, and even light gaming. Additionally, their portability makes them ideal for users who need to relocate their setup frequently, and many models offer surprisingly good value compared to building a comparable system from scratch when factoring in time and potential troubleshooting.


